1 前期准备
1.GitHub账号注册(官网:https://github.com/)
2.Node.js下载并安装(官网:https://nodejs.org/en/)
3.Git下载并安装(官网:https://git-scm.com/)
推荐镜像:
Node.js 镜像:http://npm.taobao.org/mirrors/node
Git镜像:https://npm.taobao.org/mirrors/git-for-windows/
2 Git配置和SSH
2.1 配置Git信息
桌面右键点击“Git Bash Here”打开Git命令行窗口
1 | //配置user信息 |
2.2 配置SSH key
step 1: GitHub新建仓库,仓库名为“Oh-MyBug.github.io”
(Oh_MyBug改为你的GitHub用户名 注意:一定要是用户名!!!)
step 2: 回到Git界面,输入命令:
1 | $ ssh-keygen -t rsa -C "Oh-MyBug@163.com" |
step 3: 打开用户文件夹C:\Users\xxx (xxx为你的电脑用户名),找到并打开.ssh文件夹,用编译器打开id_rsa.pub文件,即可看到ssh Key内容,将其复制
step 4: 回到GitHub界面,点击你的头像选择Settings,在左侧列表中选择“SSH and GPG keys”,点击“New SSH key”按钮添加新的Key,Title自定义,Key内容即为你刚才从id_rsa.pub文件中复制的内容,然后点击”Add SSH key”即创建成功
step 5: 回到Git界面,输入命令:
1 | $ ssh git.com |
显示successfully即配置成功!
3 Hexo博客框架安装
step 1: Git界面输入命令:
1 | $ npm -v |
返回版本号即说明已安装(一般安装的Node自带npm)
step 2: Git界面(或者命令提示符cmd–比较快)输入命令:
1 | $ npm install -g hexo |
step 3: 安装成功后,找一个盘新建文件夹用于放置博客的配置文件等等,我选择的是”文档“文件夹来新建文件夹(文件夹名自定义,我的是”MyBlog”)
step 4: 关闭原来的Git界面,在”MyBlog”文件夹右键点击”Git Bash Here”进入Git界面,输入命令:
1 | $ hexo init |
(安装需要点时间…耐心等待)
step 5: 继续输入命令:
1 | $ npm install |
step 6: Git输入命令:
1 | $ hexo server //通过本地地址http://localhost:4000预览博客 |
step 7: 在GitHub仓库Oh_MyBug.github.io中找到SSH:git@github.com:Oh-MyBug/Oh-MyBug.github.io.git,然后进入”MyBlog”文件夹打开”_config.yml”文件,找到# Deployment修改内容并保存文件
1 | deploy: |
step 8: 返回Git界面,按”Crtl + C”停止hexo server命令,输入命令:
1 | $ hexo generate |
(本地预览看有没有问题,即step 6的步骤)
step 9: Git界面输入命令:
1 | $ hexo deploy |
step 10: 浏览器输入博客地址:Oh-MyBug.github.io,显示出博客界面就说明hexo博客框架搭建成功啦!!!
4 常见问题
4.1 问题一
问题描述:使用GitHub创建好个人主页后访问报错:404 There isn’t a GitHub Pages site here.
问题原因:出现该问题的原因是创建的Oh-MyBug/Oh-MyBug.github.io项目中没有内容。
解决方案:
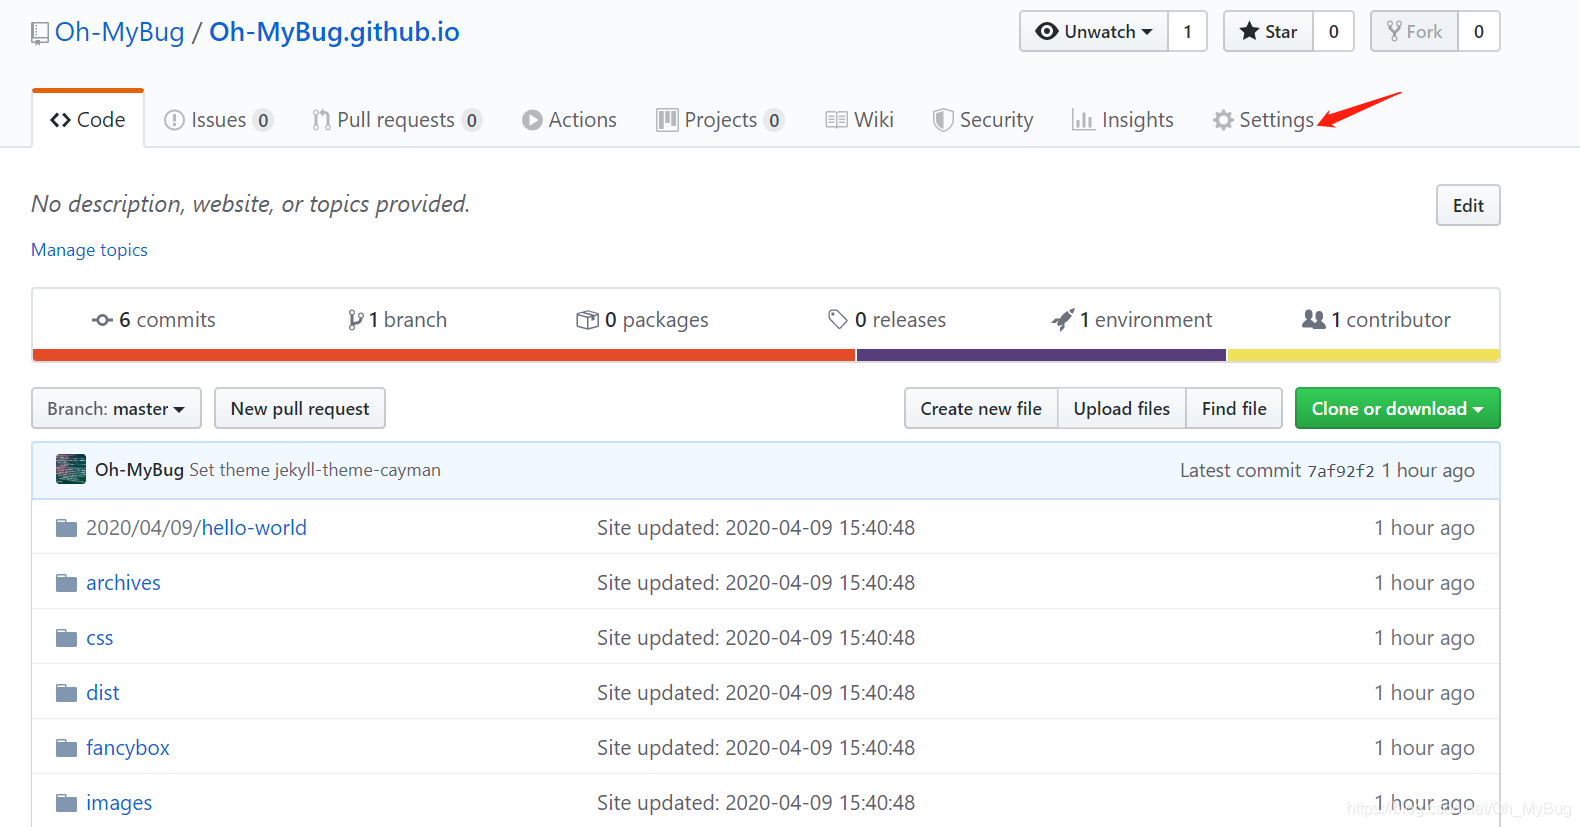
step 1: 进入仓库,点击Settings

step 2: 下滑页面找到GitHub Pages,点击Change theme(未设置之前是Choose theme,设置之后即可访问)

